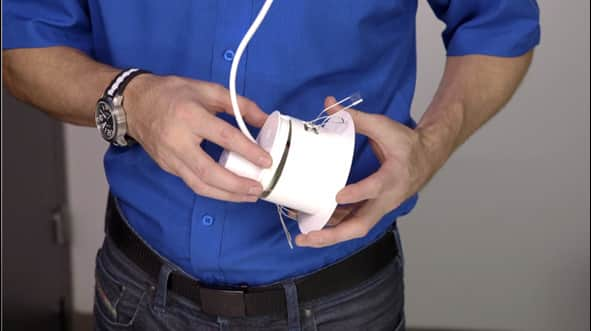
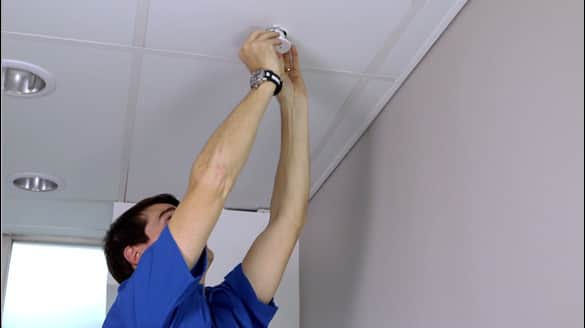
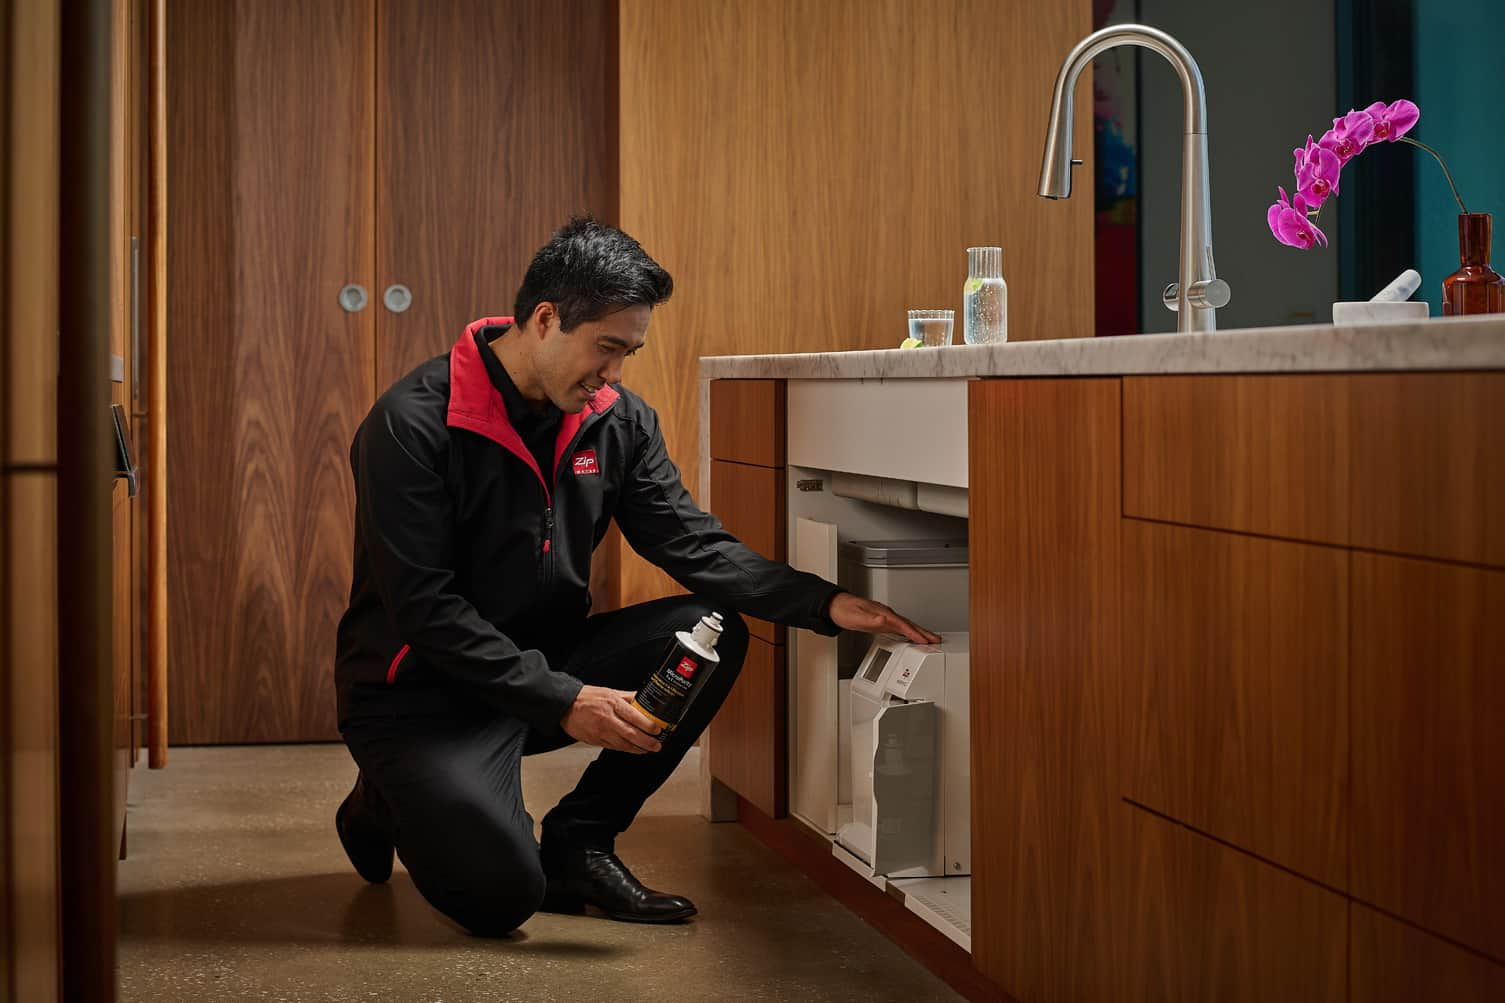
Once you have replaced the battery, fuse, latching valve and sensor, you'll need to complete set-up then re-install the unit in the ceiling.
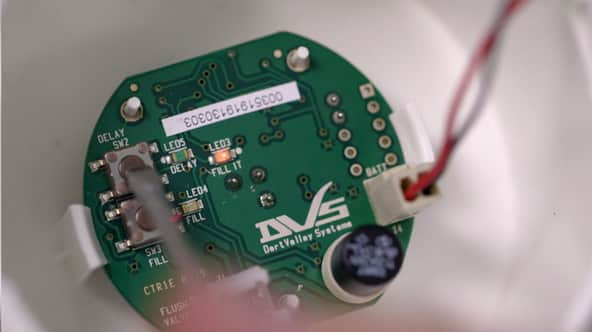
Step 01: Inside the sensor, locate two push buttons – one will be marked "Fill" and the other will be marked "Delay".
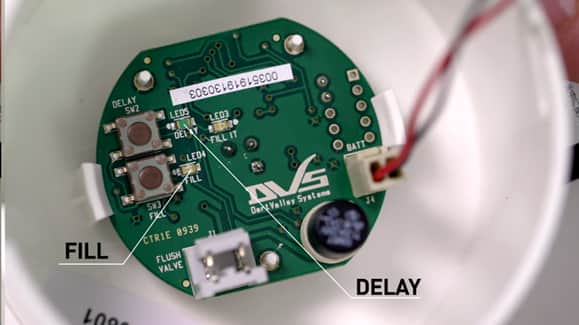
Step 02: Press and hold the "Fill" button with a screwdriver until the blue LED lights up on the screen. The "Fill" button controls how long the valve is open for.
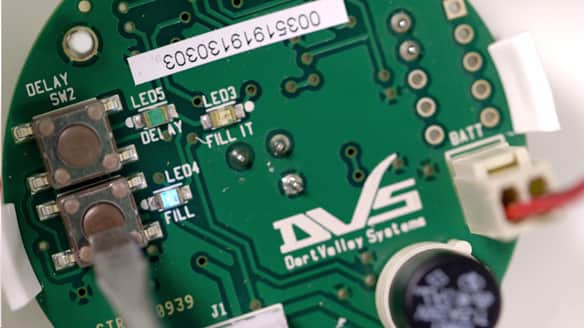
Step 03: Let the "Fill" button go then press it again. When you release it for the second time, the blue light will start to flash and the urinal will flush. This lets you know the latching valve is open.
Step 04: Press the "Fill" button for a third time and this will set the timing.
Step 05: Press the "Delay" button once and a green LED will light up. The "Delay" function is a sensor which is a passive infra-red signal that detects body heat and movement. When someone walks into sensor range the timer is triggered for the delay.
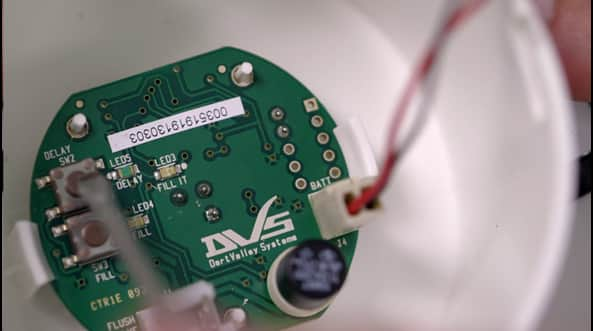
Step 06: Press the "Delay" button a second time and a red LED will light up.
Step 07: Each time the colour changes from red to green (or vice versa), another 45 seconds is added to the timer. The "Delay" function can be set for up to 15 minutes worth of delay time. Use this method to set the time you wish to have for the delay function.
Step 08: Put the unit back together and re-install it in the ceiling. Your Zip Flushmaster urinal is now ready for use.
