Step 1: Remove the latching valve from the plumbing line.
Step 2: Locate the flow restrictor on the “inlet” side of the valve by turning the valve upside down and finding the word “in” on one side, and the half-inch nipple on the other side.
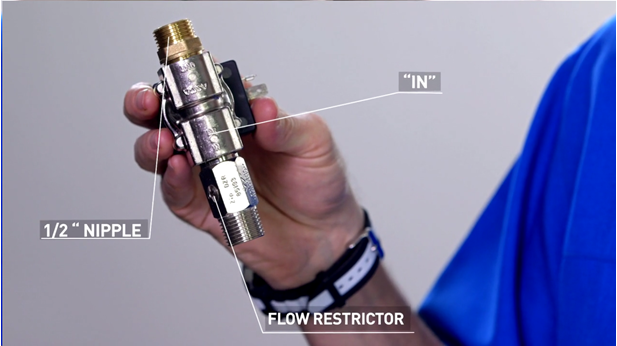
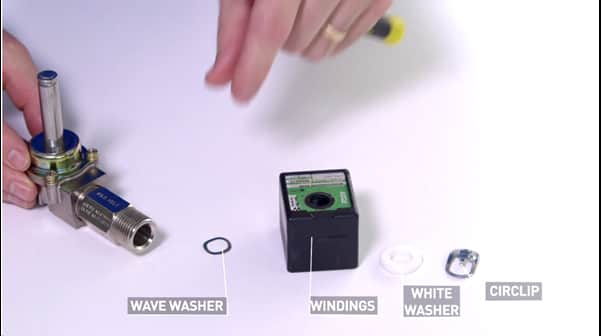
Step 3: Take a flat-blade screwdriver and remove the circlip on top of the valve by sliding it across.
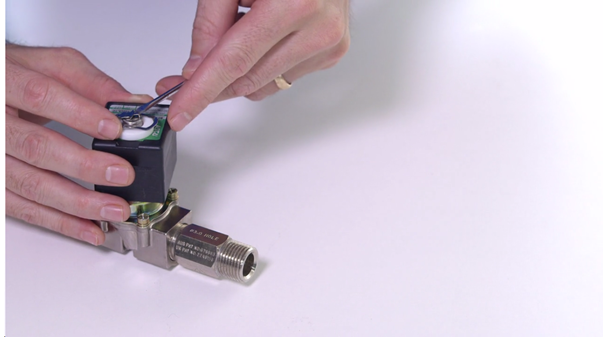
Step 4: Then remove the white washer, the wingdings and the wave washer.
Step 5: Locate the shaft of the valve which is held in place by four posi-drive screws.
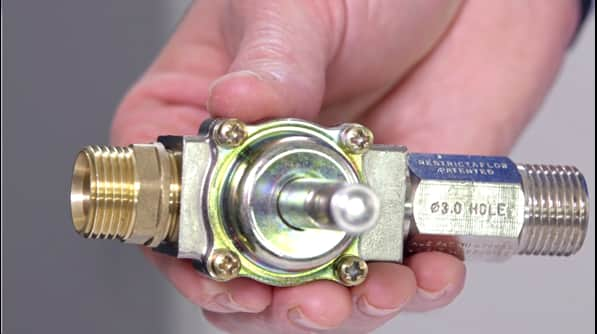
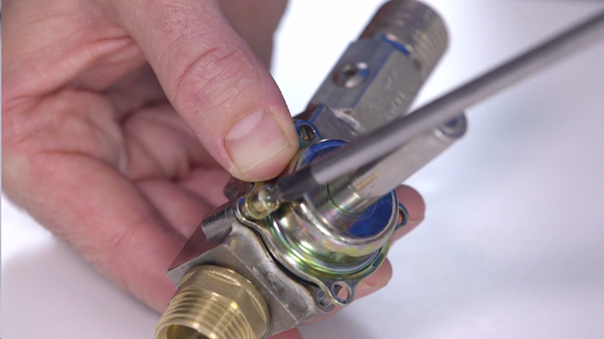
Step 6: Carefully undo the screws, taking care to hold down the valve top as the fourth screw is removed so the two springs and two bullets inside the valve do not shoot out.
Step 7: Gently pull back the valve.
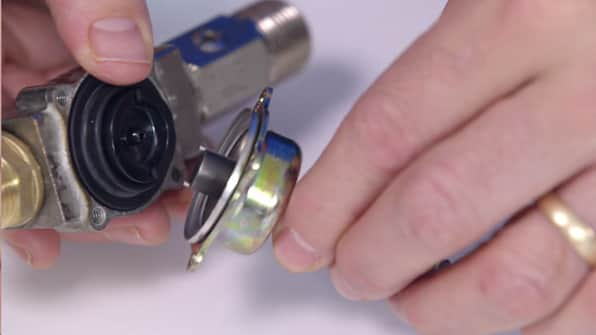
Step 8: Check the seat of the valve for wear or damage. If you see evidence of wear you will need to replace the valve body with component 90590 or the complete valve. Please contact Zip Customer Service on 1800 42 43 44 to order replacement parts.
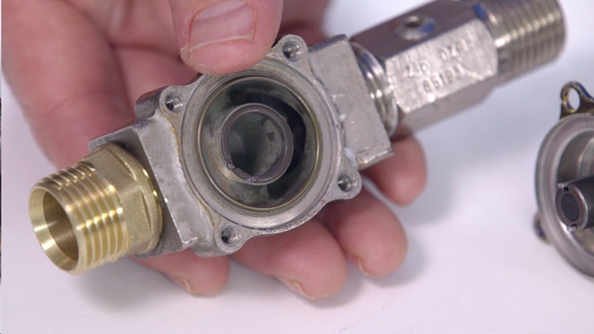
Step 9: Check the diaphragm for wear, cuts, nicks or holes. If you find evidence of wear, or if you see any black marks on your fingers, you will need to replace the diaphragm with component 90279. Please contact Zip Customer Service on 1800 42 43 44 to order a replacement part.
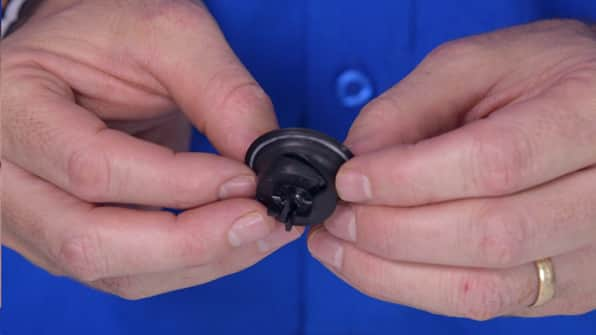
Note: Keep the internal part of the diaphragm as this is not available as a spare part.
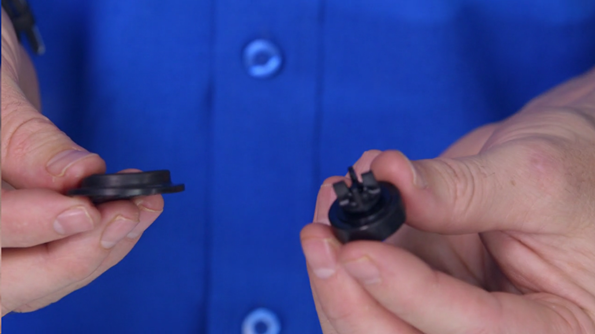
Step 10: Check the shaft of the valve by holding it upside down and tipping out the components into your hand. See if there is any grit or foreign objects within the shaft.
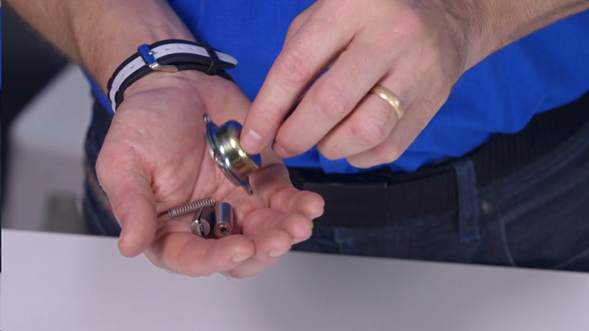
Step 11: Wash the parts then reassemble them. Put the shaft between your fingers and insert the large spring – it goes into the bullet that has an insert for the spring.
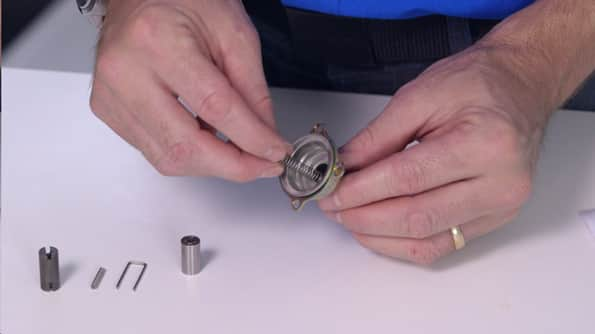
Step 12: Place the bullet into the shaft spring then insert the small spring into the second bullet which has a seating rubber in the top which sits against the diaphragm.
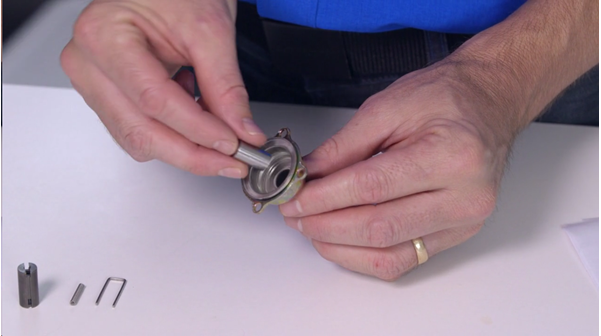
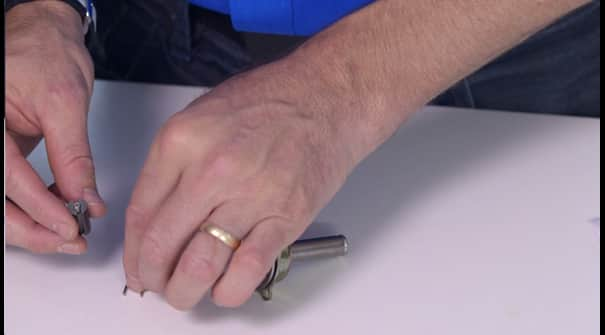
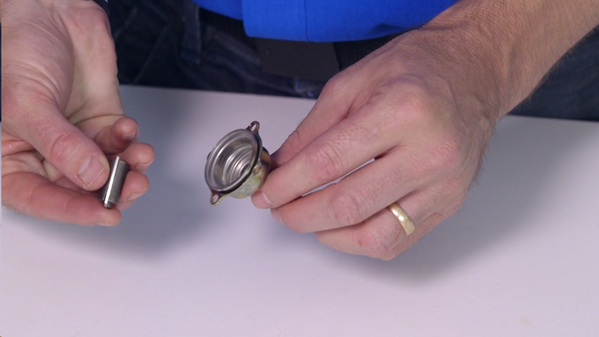
Step 13: Insert the u-bracket wire into the shaft spring and u-bracket.
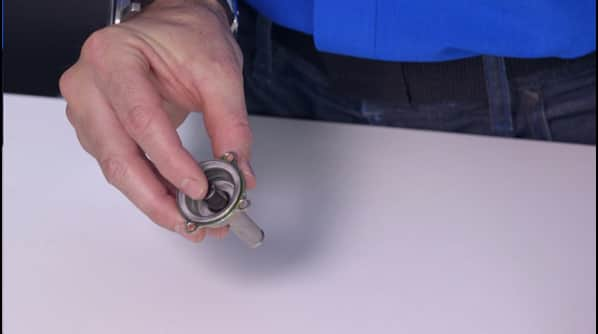
Step 14: Place the diaphragm back on top of the shaft and make sure it moves freely up and down when pressed together.
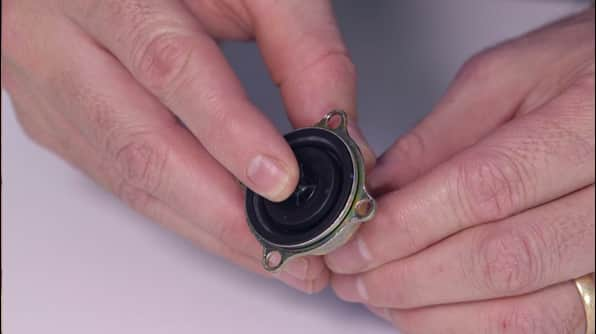
Step 15: If the diaphragm is moving freely, the valve can be reassembled by reversing the steps above.
Step 16: Your latching valve should now be in good working order. If not, please contact Zip Customer Service on 1800 42 43 44.

