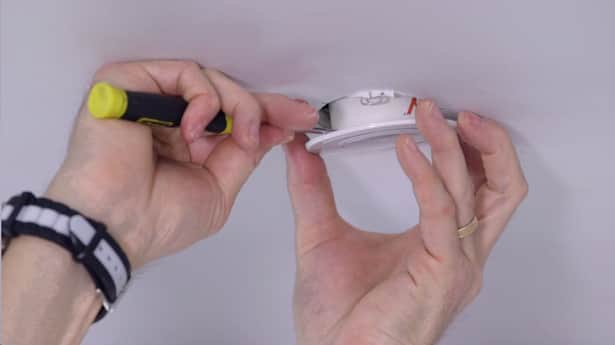
Step 01: Detach the sensor from the ceiling using a small, flat-blade screwdriver.
Step 02: Take the latching valve lead off the sensor.
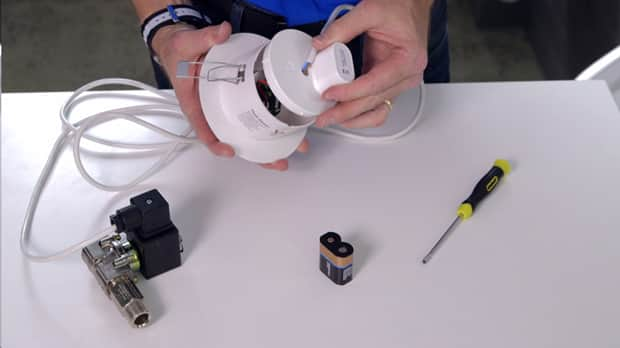
Step 03: You'll see two wires – brown and blue. Using a small, flat-blade screwdriver, disconnect the brown and blue wires and take the plastic case off the latching valve.

Step 04: Take a battery and place the brown wire on the positive terminal and the blue wire on the negative terminal.
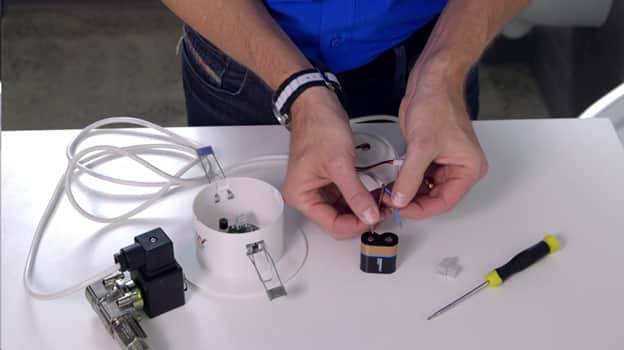
Step 05: You will see a small spark and the valve will open which will flush the urinal.
Step 06: Swap the wires and place the blue wire on the positive terminal and the brown wire on the negative terminal.
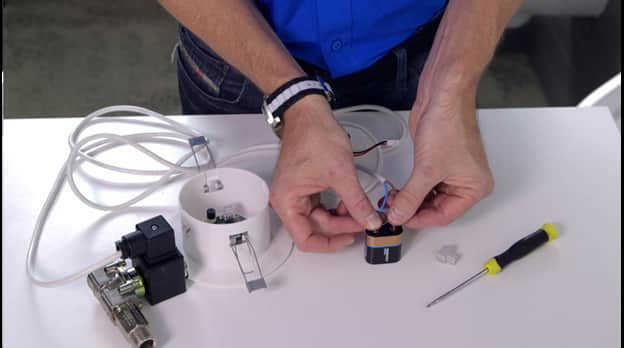
Step 07: You will see a small spark and the valve will shut down which will stop the urinal flushing.
If all these steps occur: Your valve is working fine. If you have also tested the fuse and battery, it's likely the sensor needs to be replaced. Please call Zip Customer Service on 1800 42 43 44 to order a replacement part.
If the wires do not create a spark: Your latching valve will need to be replaced. Please call Zip Customer Service on 1800 42 43 44 to order a replacement part.


