


Most Zip FlushMaster or FlushMaster Pearl products are hooked up to a battery although some are connected to power points via a mains power transformer.
Step 01: Remove the sensor from the ceiling and position it upside down on a flat surface.
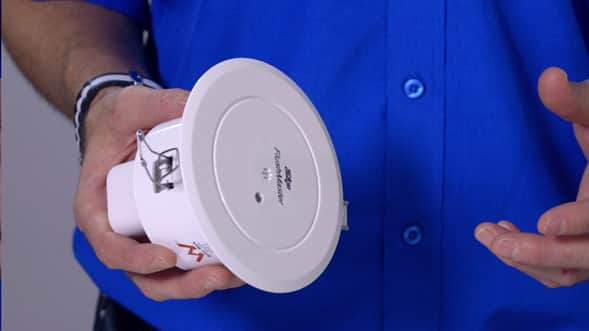
Step 02: Locate the battery case by pulling the top plastic case off the back of the sensor. You’ll now be able to see the 6-volt battery.
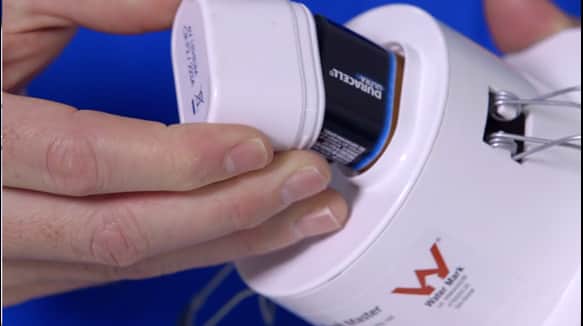
Step 03: Pull the battery from the sensor.
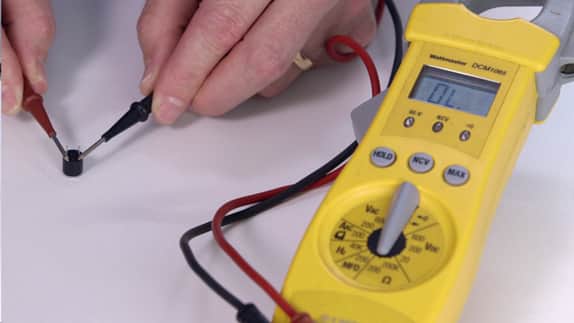
Step 04: Select “DC Volts” on your multimeter and place the test probes on the battery. A good battery will contain 6-volts or more.

Step 05: If the battery contains less than 6-volts, replace it. If the battery contains 6-volts or more, you will need to test the fuse.
Step 06: Take the cover off the sensor by turning it anti-clockwise and lifting it away.
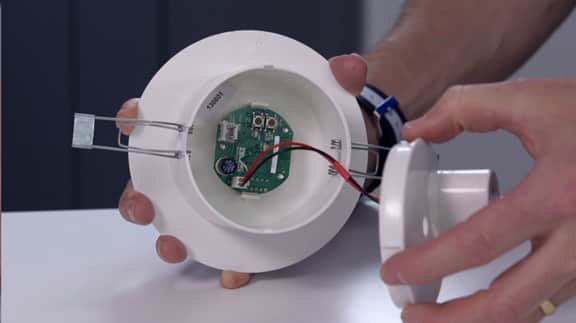
Step 07: Once the lid is removed, unplug the lid and cabling.
Step 08: Locate the fuse which is a small black, circular component on the green board.

Step 09: Hold the fuse firmly and pull it away from the green board. It will come away easily.
Step 10: Locate the two “feet” at the bottom of the fuse and change the setting on your multimeter to “OHMS”
Step 11: Hold the multimeter prongs on the fuse “feet”. If the multimeter shows no reading, your fuse will need to be replaced. Please call Zip Customer Service on 1800 42 43 44 to order a replacement fuse.

Step 12: If the multimeter shows a reading for the fuse it does not need to be replaced and can be put back into the sensor by reversing the steps above.